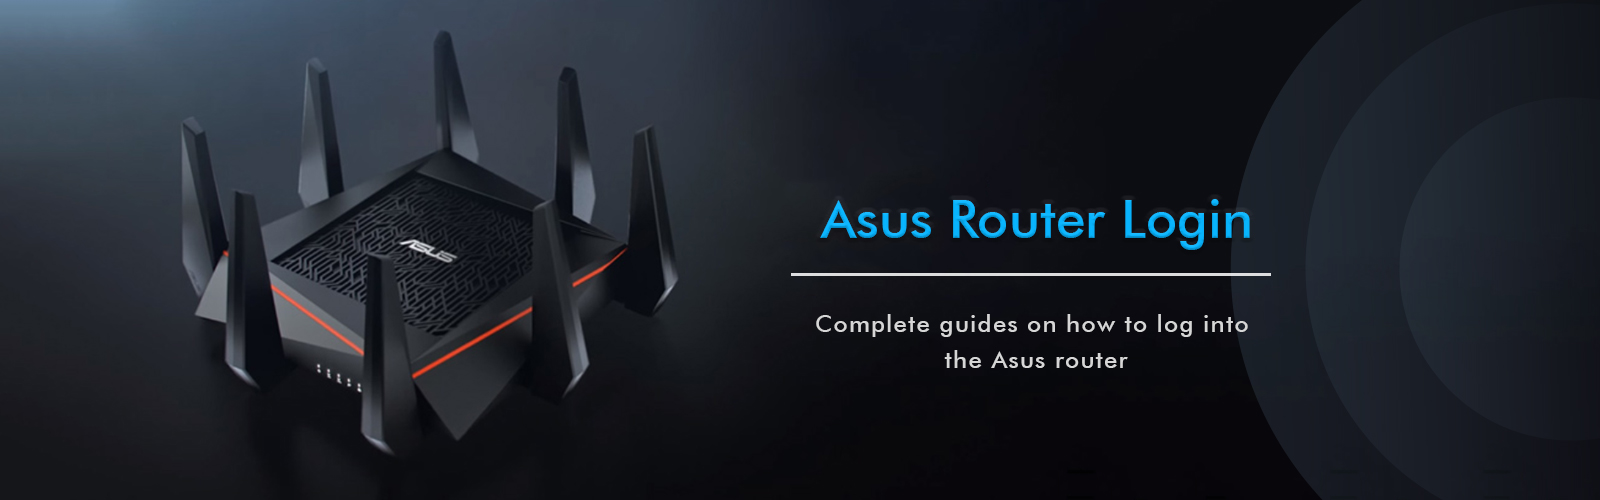
asus router login setup
How to set up a URL filter to block websites in the network of router.asus.com devices?
Setting up a URL to block websites within the network is somewhat the same task to set up a keyword filter within the router.asus.com interface to keep anonymous users away from accessing the Internet. In a keyword filter, a user specifies a keyword, the websites containing that keyword get blocked. A user can mention a web address or keyword to prevent access to a particular set of websites. Both the keyword filter and URL filter are configured through the web interface of the router.asus.com
Steps to setup a URL filter to block websites within the network of router.asus.com device
- Launch a browser on the computer or a laptop connected to your local network.
- Take your cursor to the address bar of your browser and type www.router.asus.com as the web address of your browser. In case you encounter any kind of error, type 192.168.1.1 as the URL of the browser. 192.168.1.1 is the LAN IP address of your ASUS router.
- Hit the enter button and the ASUS router login page appears on the screen.
- Type “admin” on the username field as a default login credential and mention the default password if you haven’t changed the login password. If you have changed the password then type the password that you mentioned earlier while logging into the ASUS Router login window. Both the credential fields are case-sensitive.
- When you are done specifying the credentials on their respective fields, click on the login button and you will be redirected to the router.asus.com window.
- From the menu dashboard, go to the Advanced settings tab, select the Firewall option the click on the URL Filter tab.
- Select the Enable option to activate the URL filter option in the router.asus.com window.
- Now to add a URL, type down the URL of the website of which you want to block in your network and click on the Add symbol button.
- Note: The URL filter option doesn’t work in a DNS function. If a website that a user wants to block through the URL filter is already present in the cache of your computer then that website won’t get blocked. A user has to clear the DNS cache to block the website that he wants to block through the URL function in the router.asus.com window.
- Click on the Apply settings to apply the settings you configured through the router.asus.com web interface.
Note: Make sure that the website you want to block is not present in the DNS cache as in that case that website will not get blocked. The URL with the HTTPS// domain will not be considered valid, only the websites containing the HTTP// domain will get blocked by the
Why dlinkrouter.local is not working?
URL filter method. No websites with the HTTPS// will get blocked by the URL function of the router.asus.com window.
How to configure the DHCP server in your router.asus.com window?
A router utilizes a DHCP server to automatically assign an IP address to the network according to the network environment. A user can specify the range of the IP address, under which he wants his nearby users to connect to the network. Any specified user out of the IP address range in the DHCP server will not be allowed to connect to your network. You can enable and configure your DHCP server through the web interface of the router.asus.com window.
Steps to configure the DHCP server in your router.asus.com window
- Visit the browser on your desktop connected to the home network.
- Navigate www.router.asus.com on the address bar of the browser to get to the ASUS router login page. You can also type the LAN IP address of the Asus router to get visit the web menu dashboard of the ASUS router. The LAN IP address that you can mention is 192.168.1.1 or 192.168.0.1
- Mention “admin” on the username field as the default username and type the password you typed earlier on the password field. If you haven’t changed the default password, type “admin” on the default password. Both the credentials will be case-sensitive, press the caps lock when you want to type the uppercase letter. Do the vice-versa if you want to type the lowercase letter.
- .Click on the login button and you will be redirected to the homepage of the router.asus.com
- From the main window, select the Advanced Settings tab then click on the LAN option, at last, bring your cursor to the DHCP server tab, and click on it.
- To enable the DHCP server in the router.asus.com window, click on the Yes tab of the “Enable DHCP server” field.
- Locate the Domain name field and enter a domain name for your router.
- Enter the starting IP address in the “IP Pool Starting Address” field.
- Now, locate the “IP Pool Ending Address” field and type the ending IP address on that field.
- You have to specify the time in the “Lease Time” field at which you want to expire an assigned IP address. It is a must to specify the time in seconds, in case a user doesn’t specify it in seconds the time you mentioned will get discarded.
- Note: Experts recommend users use an IP address form where a user can use any number between 2 to 254 while specifying the range of an IP address.
- Type the DNS server IP address in the DNS server field, only if it’s necessary.
- If a user wants to assign an IP address manually within the network, then he can do so by selecting the “Enable Manual Assignment” option and by choosing the Yes option to assign an IP address manually within the network.
- A user also has to keep one thing in mind that a maximum of 32 MAC addresses can be added to the DHCP list. MAC address more than 32 will be discarded from the DHCP list for the manual assignment of the IP address.
- After mentioning all the above settings, click on the Save settings option to save the settings you configured yet.
Note: Make sure that while typing the Starting IP address and Ending IP address in their respective fields, the IP Starting Pool address shouldn’t have more digits than the IP Ending Pool Address otherwise both the Pool address will get discarded.